
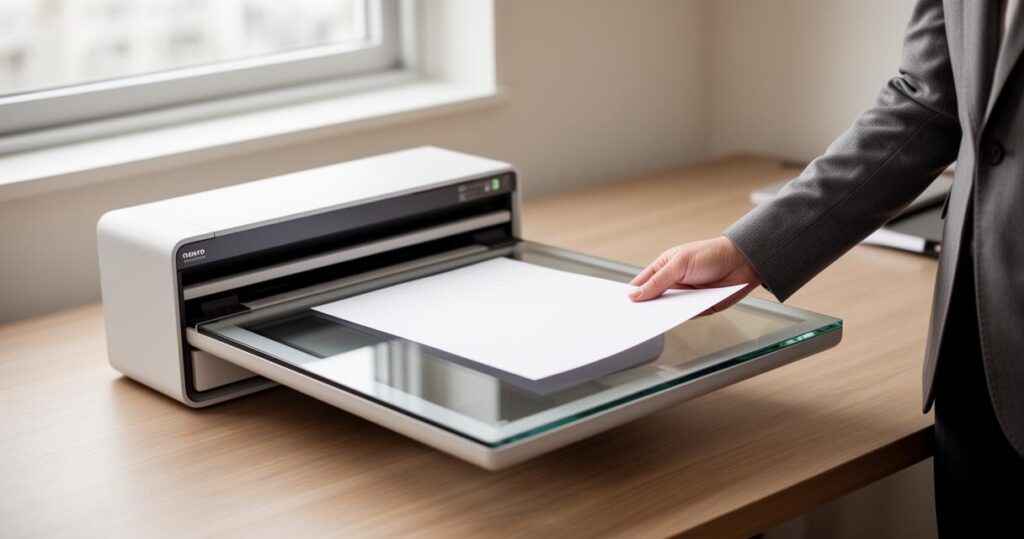
Scanning paperwork at home or in the office needn't be a headache, and if you own a Canon printer, you already possess a rather capable tool for turning stacks of paper into tidy digital files. Whether you're digitising old receipts, creating backups of important certificates, or simply trying to declutter your desk, understanding how the Canon scan software works will save you a great deal of time and frustration. This guide walks through the entire process, from setting up the connection to saving your finished files exactly where you want them.
The essentials
- Ensure your Canon printer is correctly connected to your computer via USB or wireless, with the necessary drivers installed to facilitate communication.
- Properly align your document face down on the scanner glass and flatten it to avoid shadows or distortions in the final digital file.
- Choose the appropriate scan type—black and white, greyscale, or colour—based on your document's content to optimize file size and visual quality.
- Select the correct file format, such as PDF for text documents or JPEG for images, to ensure your files meet your specific needs.
- Use the Canon utility's preview feature to adjust settings like brightness or cropping before finalizing your scan.
- Organize your scanned documents into clearly labeled folders or cloud storage to ensure easy retrieval and long-term digital management.
Preparing your canon printer for document scanning
Before any scanning can begin, it's worth taking a moment to make sure your printer is properly set up and ready to communicate with your computer. Getting this right from the start prevents a lot of the common errors people encounter, such as the scanner not being detected or scans coming out skewed.
Connecting your canon printer via usb cable
Although many modern Canon printers offer wireless scanning, connecting via a USB cable remains the most reliable method, particularly if you're scanning sensitive documents or working with a slower home network. Simply plug the cable into an available USB port on your computer and the corresponding port on the printer, then wait for your operating system to recognise the device. Once connected, you'll typically need to install or update the Canon driver software, which is freely available from Canon's official support pages. This software acts as the bridge between your printer's hardware and your computer, allowing the two to exchange data smoothly during the scanning process.
Properly Positioning Documents on the Scanner Glass
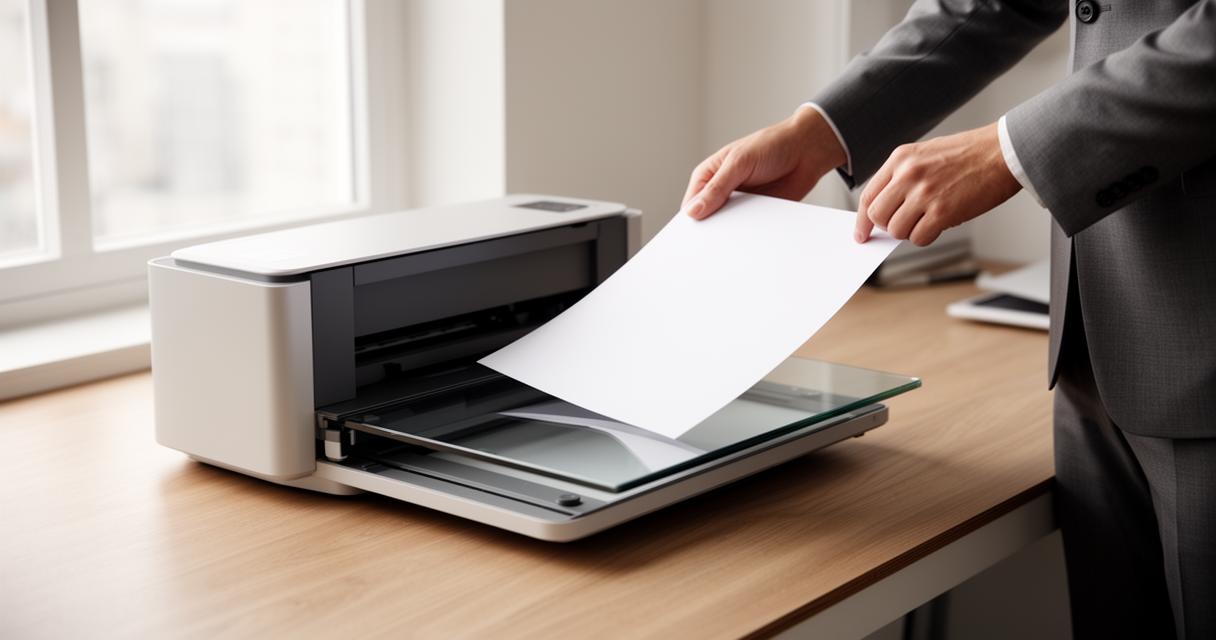
It might seem obvious, but how you place your document on the scanner glass genuinely affects the quality of the final image. Lift the scanner lid carefully and lay the document face down, aligning it with the corner markers usually printed on the glass itself. Try to keep the paper as flat as possible, smoothing out any creases or folds beforehand, since these can create shadows or distortions in the scanned image. If you're working with something delicate, like an old photograph or a fragile document, avoid pressing down too firmly when closing the lid, as this could cause unnecessary damage.
Configuring scan settings in canon software
Once your printer is connected and your document is properly positioned, the next step involves adjusting the settings within the Canon scanning utility itself. This is where you determine exactly how your final scan will look and function.
Selecting Scan Type: Black and White, Greyscale, or Colour Options
Canon's software typically presents a straightforward menu allowing you to choose between black and white, greyscale, or full colour scanning. For simple text documents like letters or contracts, black and white is usually sufficient and produces smaller file sizes. Greyscale works well for documents containing subtle shading or basic images, while colour scanning is best reserved for photographs, illustrations, or anything where accurate colour representation matters. Selecting the appropriate option not only affects visual quality but also influences how much storage space your scanned files will eventually occupy.
Choosing the Appropriate File Format (PDF, JPEG, TIFF) in Windows Settings
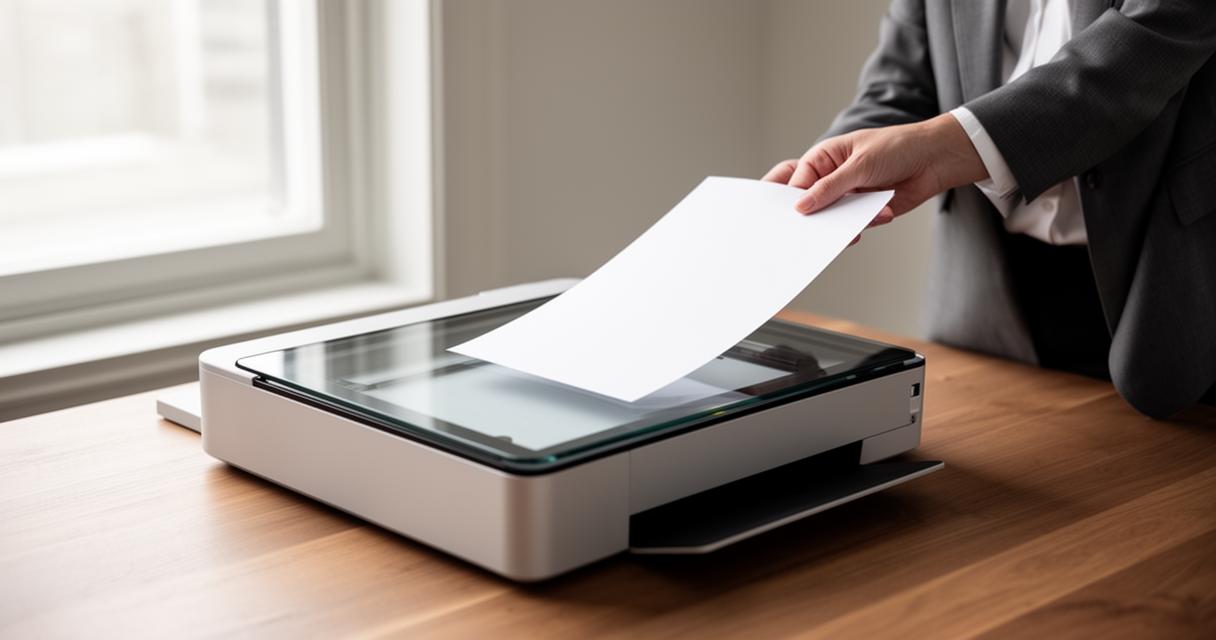
Within the Windows settings menu of the Canon utility, you'll find several file format options, each suited to different purposes. PDF remains the go-to choice for multi-page documents, contracts, or anything you intend to share professionally, since it preserves formatting consistently across devices. JPEG, on the other hand, is ideal for photographs or single images where file size matters more than perfect editability. TIFF, though less commonly used by casual users, offers superior image quality and is often preferred in archival or professional printing contexts. Taking a moment to consider what you'll actually do with the scanned file will help you pick the most sensible format from the outset.
Saving and managing your scanned documents
The final stage of the process involves ensuring your newly created digital file ends up somewhere sensible and easy to find later. This step is often overlooked, yet it's just as important as the scanning itself.
Using the Canon Utility to Save Scans to Your Computer
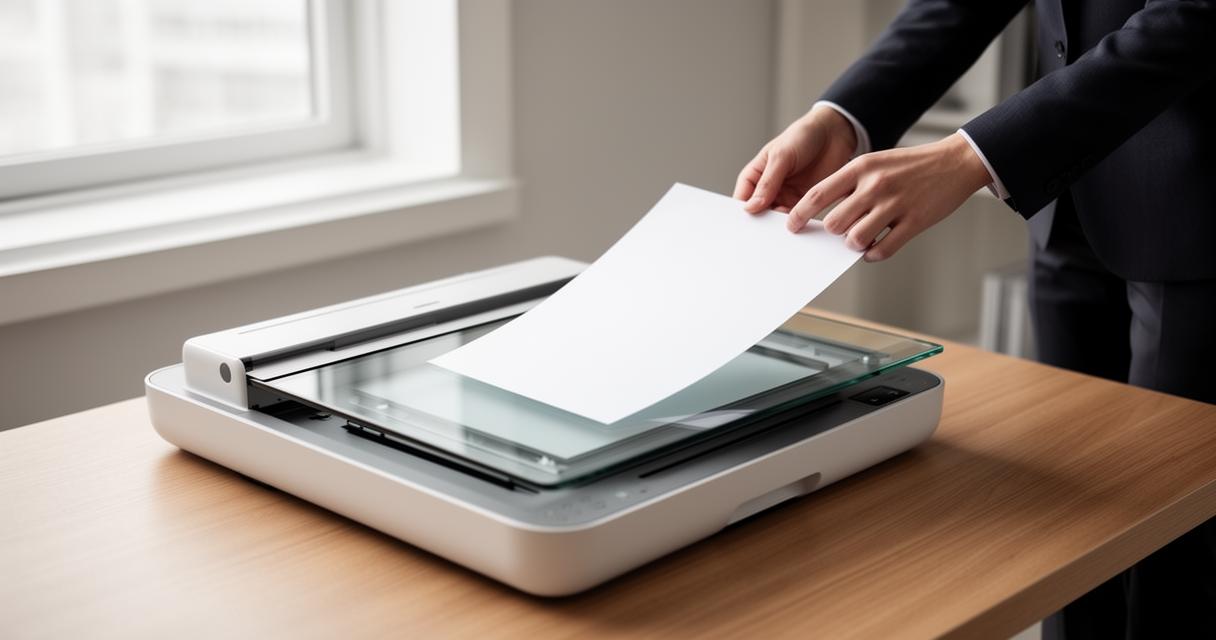
Most Canon scanning utilities include a straightforward save function that appears once the scan has completed. You'll usually be prompted to name the file and confirm the format before it's transferred to your computer. Some versions of the software also allow you to preview the scan beforehand, giving you a chance to adjust brightness, contrast, or cropping if the initial result isn't quite right. Taking advantage of these preview features can save you from having to rescan a document unnecessarily.
Selecting and Organising Storage Locations for Scanned Files
Rather than letting scanned files pile up in your default downloads folder, it's worth setting up a dedicated storage location specifically for digitised documents. Creating clearly labelled folders, perhaps organised by date, category, or purpose, makes retrieving files much easier down the line. Many people find it helpful to sync this folder with a cloud storage service, ensuring backups exist should anything happen to the original computer. With a bit of forethought regarding organisation, your Canon printer can become a genuinely efficient tool for keeping both your physical and digital paperwork firmly under control.